
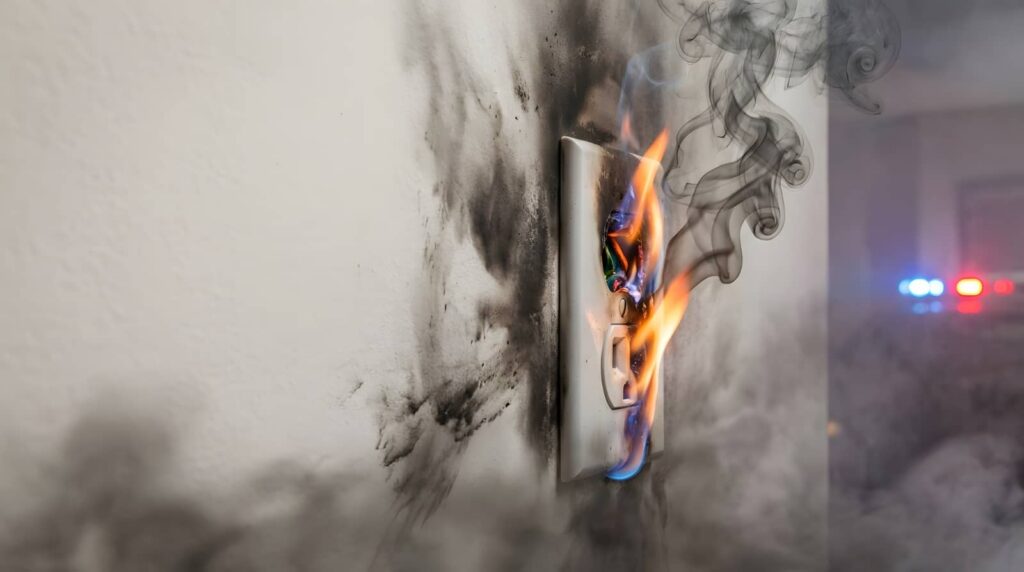
Smoke damage can leave your walls and ceilings looking unsightly, yet the underlying risks often go unnoticed. Evaluating the extent of the damage is essential for effective cleanup. You’ll need to recognize signs like discoloration and soot buildup before taking action. Understanding how to approach this task properly will ensure your home’s integrity is restored. What specific steps should you take to tackle smoke damage effectively?
Key Takeaways
- Assess the extent of smoke damage by inspecting for discoloration and soot on walls and ceilings.
- Use a HEPA vacuum to remove loose soot before applying cleaning solutions.
- Clean surfaces with a mild detergent or vinegar solution to tackle stains and odors.
- Repaint affected areas with a stain-blocking primer if discoloration persists.
- Seek professional help for persistent odors, deep stains, or signs of mold growth.
What Is Smoke Damage and How Does It Affect Your Home?
Smoke damage refers to the residue and odor left behind after a fire, affecting various surfaces in your home. This damage can infiltrate walls and ceilings, creating a persistent smell and discoloration that’s hard to eliminate.
When tackling smoke damage cleanup for walls and ceilings, you’ll need to understand the materials involved. Different surfaces, like drywall or painted areas, require specific cleaning techniques. For example, using a mixture of vinegar and water can be effective for painted walls, while specialized cleaners may be necessary for ceilings.
Addressing smoke damage quickly is essential to prevent further deterioration. By actively engaging in the cleanup process, you can restore your space and reclaim a sense of belonging within your home.
Safety First: How to Stay Safe When Cleaning Up
When cleaning up smoke damage, it’s essential to wear the right protective gear to shield yourself from harmful particles.
Ensure proper ventilation in the area to minimize inhalation risks and improve air quality.
Taking these precautions can greatly enhance your safety during the cleanup process.
Protective Gear Essentials
Cleaning up after smoke damage can pose serious health risks, so it’s important to wear the right protective gear. Start with a high-quality respirator to filter out harmful particles and gases. Make sure it fits snugly to provide effective protection.
Next, wear gloves—preferably nitrile—to shield your hands from soot and chemical cleaners. Long-sleeved clothing is vital; it protects your skin from irritants and keeps you safe from debris.
Safety goggles are also necessary to prevent eye exposure to irritating substances. Finally, consider using a hard hat if there’s a risk of ceiling collapse.
Proper Ventilation Techniques
To ensure safety during smoke damage cleanup, proper ventilation is essential.
Begin by opening all windows and doors to create cross-ventilation. Use exhaust fans to help expel smoke particles from the area, directing airflow outside.
If possible, set up a high-efficiency particulate air (HEPA) filter to capture fine particles and improve air quality. Always wear a mask to protect your lungs from harmful contaminants.
Monitor air quality with a meter if available, verifying levels are safe before proceeding with cleanup.
If you’re dealing with extensive damage, consider hiring professionals with specialized equipment to ensure thorough ventilation.
Remember, effective ventilation protects your health and aids in the overall restoration process.
Stay safe and work smart.
Step-by-Step Guide to Cleaning Smoke-Damaged Walls
Before you start cleaning smoke-damaged walls, assess the extent of the damage.
This step is vital for determining the right cleaning supplies you’ll need for effective restoration.
Knowing what you’re up against will streamline the process and ensure you achieve the best results.
Assessing Smoke Damage Extent
Understanding the extent of smoke damage is essential for effective restoration, especially when it comes to walls.
Start by inspecting the affected areas closely. Look for discoloration, soot residue, and lingering odors. Use a flashlight to illuminate dark spots, revealing hidden damage.
Test the surface by rubbing a damp cloth on the wall; if it collects soot, more intensive cleaning will be necessary.
Check for structural damage, particularly in corners and joints, as smoke can permeate deeper materials.
Don’t forget to assess adjacent areas, like ceilings and trim, for any signs of damage.
Document your findings with photos, as this can help guide your restoration efforts and communicate with professionals if needed.
Essential Cleaning Supplies Needed
Gathering the right cleaning supplies is essential for effectively tackling smoke-damaged walls. Start with a bucket for mixing solutions, and grab sponges or soft cloths to avoid further damage.
You’ll need a strong cleaning solution—vinegar or a commercial smoke damage cleaner works well. Don’t forget a scrub brush for tough spots and a vacuum with a HEPA filter to remove loose soot.
If you’re dealing with ceilings, consider a ladder for safe access. Protective gear, like gloves and masks, is vital to keep you safe from particulates and fumes.
Finally, have trash bags handy for disposing of contaminated materials. With these supplies, you’ll be well-equipped to restore your walls and reclaim your space.
How to Restore Smoke-Damaged Ceilings
When smoke damages your ceiling, immediate action is essential to prevent further deterioration. Start by evaluating the extent of the damage.
Use a vacuum with a HEPA filter to remove loose soot particles. For more stubborn stains, mix a solution of water and mild detergent, applying it with a soft cloth. Be gentle to avoid damaging the surface.
If the smoke odor persists, consider using a mixture of vinegar and water to neutralize it. Once cleaned, allow the area to dry thoroughly.
If discoloration remains, you might need to repaint with a stain-blocking primer followed by a suitable ceiling paint.
Always wear protective gear to ensure your safety during the restoration process.
Top 5 Mistakes to Avoid When Cleaning Smoke Damage
Cleaning smoke damage is a delicate process, and avoiding common pitfalls can make all the difference.
First, don’t skip safety gear; protective equipment is essential to prevent inhaling harmful residues.
Second, avoid using water indiscriminately; it can worsen damage by spreading soot and creating mold.
Third, steer clear of harsh chemicals that can react with smoke particles, exacerbating the issue.
Fourth, neglecting to test surfaces before cleaning can lead to further damage, so always conduct a patch test.
Finally, don’t rush the process; thoroughness is key to effective cleanup.
Taking the time to avoid these mistakes ensures a safer, more efficient restoration of your walls and ceilings, fostering a sense of belonging in your clean, smoke-free environment.
Signs You Need Professional Help With Smoke Damage?
Recognizing the signs that you need professional help with smoke damage is vital for effective restoration. If you notice persistent odors despite cleaning efforts, it’s a strong indicator you need assistance.
Stains on walls and ceilings that don’t come off with standard cleaners also signal deeper issues. Additionally, if you observe discoloration or bubbling paint, that often means smoke has penetrated the surface, requiring specialized techniques for proper removal.
Mold growth, frequently exacerbated by smoke, is another sign that professional intervention is necessary. Finally, if your health is affected—like experiencing respiratory issues—it’s essential to consult experts.
Addressing these signs promptly ensures a safer, healthier environment for you and your loved ones.
Frequently Asked Questions
Can Smoke Damage Affect My Home’s Air Quality?
Yes, smoke damage can greatly affect your home’s air quality.
When smoke particles settle on surfaces, they can release harmful chemicals back into the air, leading to respiratory issues and other health concerns. It’s essential to address this promptly to minimize exposure.
Regular ventilation and professional cleaning can help restore air quality.
If you notice lingering odors or health symptoms, don’t hesitate to consult with specialists who can assess and remediate the situation effectively.
How Long Does Smoke Damage Cleanup Typically Take?
Cleanup from smoke damage can feel like an eternity, but it usually takes about 3 to 7 days, depending on the extent of the damage.
You’ll want to act quickly, as lingering odors can stick around longer than a bad party guest.
Professionals often assess the situation first, then tackle it with specialized equipment.
Will Insurance Cover Smoke Damage Restoration Costs?
Yes, insurance often covers smoke damage restoration costs, but it depends on your policy.
You’ll want to review your coverage details, as some policies may have specific limits or exclusions. If you’ve got an extensive homeowners or renters policy, you’re likely to receive assistance.
Document the damage thoroughly and contact your insurance provider promptly. They’ll guide you through the claims process to ensure you get the support you need for restoration.
What Tools Are Essential for Smoke Damage Cleanup?
To tackle smoke damage effectively, you’ll need a few essential tools. Start with a high-efficiency particulate air (HEPA) vacuum to capture soot and debris.
Next, grab a scrub brush and specialized cleaning solutions designed for smoke residue.
Don’t forget protective gear like gloves and masks—your safety’s paramount.
An ozone generator can also help neutralize lingering odors, transforming your space back to its former glory.
With the right tools, you’ll reclaim your home.
Can I Use Regular Cleaning Products for Smoke Damage?
You can’t rely solely on regular cleaning products for smoke damage.
These products often lack the potency needed to break down soot and odor. Instead, opt for specialized cleaners designed to tackle smoke residue. They contain surfactants that effectively lift particles from surfaces.
Always follow the manufacturer’s instructions, and consider testing a small area first. This ensures you’re cleaning and protecting your walls and ceilings from further damage.
Conclusion
In the battle against smoke damage, your determination can restore your home’s beauty, but neglect can lead to lasting harm. By following the right steps and prioritizing safety, you can effectively clean and revitalize your walls and ceilings. Remember, while DIY efforts can yield impressive results, some situations call for professional intervention. Weigh your options carefully—preserving your home’s integrity is worth the effort, but knowing when to seek help can make all the difference.