
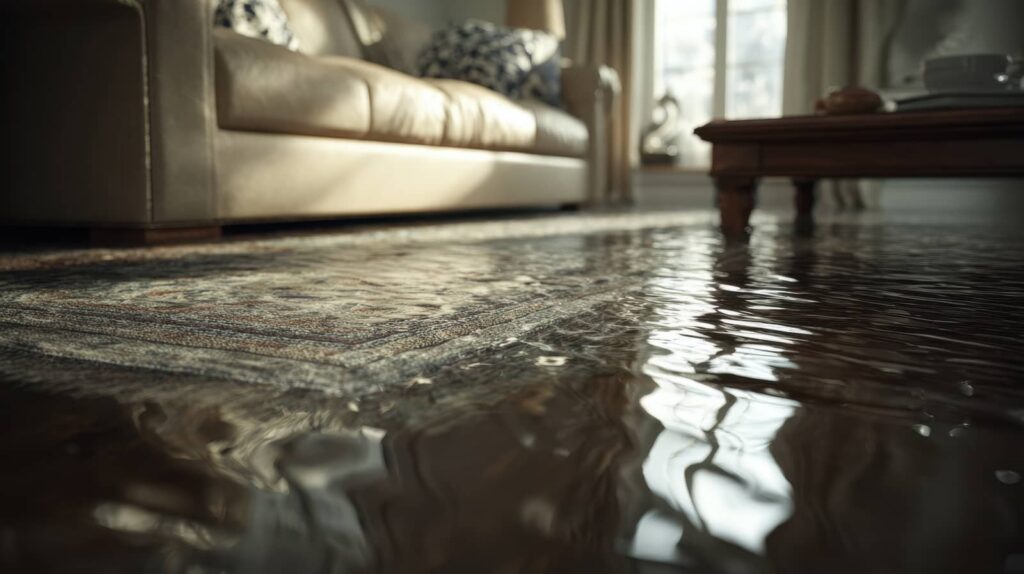
Flood damage restoration starts with a detail you may not know: water can keep wicking into hidden cavities long after the surface looks dry. The Flood Damage Restoration Process begins by securing the area, stopping the source, extracting standing water, and removing saturated materials before drying begins. Each step affects the next, and missed moisture can lead to structural damage or mold. The process gets more exact from there, and the critical decisions come fast.
Key Takeaways
- Inspect the structure first for sagging, cracking, or foundation shifts, and wear protective gear before entering.
- Stop the water source if safe, then pump out standing water and vacuum remaining moisture.
- Remove wet porous materials like carpet pads, insulation, and damaged drywall to prevent mold growth.
- Use air movers and dehumidifiers together, keeping openings clear to dry hidden damp areas thoroughly.
- Check for hidden structural damage and moisture levels, then document repairs and replace damaged materials in order.
Check Safety Before You Enter
Before you enter, have you confirmed the area is safe? You should inspect the structure from outside first, because the flood damage restoration process starts with hazard control.
Look for sagging ceilings, cracked walls, shifted foundations, exposed wiring, gas odors, and standing water near outlets. If you detect any of these, stay out and call qualified responders.
Wear boots, gloves, a respirator, and eye protection before crossing the threshold. Turn off electricity only if the main switch is dry and accessible.
Test each step for stability, since wet flooring can fail suddenly. Document visible damage with photos, then establish a clear entry path.
When you act methodically, you protect your team and join the recovery effort with confidence.
Stop the Water and Extract It Fast
Shut off the water source immediately if you can do it safely, then start extracting standing water without delay.
You should close the main valve, power down affected circuits if needed, and keep your path clear. Use a pump for deep pooling, then switch to a wet vacuum for residual water on hard surfaces.
Work from the lowest point outward so you don’t push water deeper into the space. Aim the hose to a safe discharge area, and monitor the equipment so it doesn’t lose prime.
Remove water in passes, checking hidden pockets along edges and under fixtures. Quick extraction limits wicking, reduces saturation, and helps your team move into drying faster.
Stay methodical, stay alert, and keep each step controlled.
Remove Wet Materials and Debris
Once standing water is out, you should remove saturated materials and debris that will hold moisture or contaminate the area.
Start with porous items like carpet pad, insulation, upholstered furniture, paper goods, and warped drywall. Bag loose debris, label salvageable contents, and separate them from disposal loads.
Wear gloves, boots, eye protection, and a respirator if sludge or mold is present. Cut materials at clean edges and place waste in sealed bags or covered bins to limit spread.
Remove damaged baseboards, trim, and insulation only when they can’t be cleaned or stabilized. Keep pathways clear for crews and equipment, and document what you discard for insurance records.
Work methodically so your space stays organized, safer, and ready for the next restoration step.
Dry Walls, Floors, and Air
With the wet materials out, you can focus on drying the structure itself by moving dry air across walls, floors, and hidden cavities.
Position air movers to create broad, overlapping airflow, then pair them with dehumidifiers that pull moisture from the room.
Keep doors, vents, and access panels open when needed so you can reach trapped dampness inside wall bays and under flooring.
Check moisture levels with a meter, and compare readings to unaffected areas to confirm progress.
Reposition equipment if drying slows or readings stall.
Maintain steady temperature and airflow, because inconsistent conditions can trap moisture in materials.
You’re not just drying surfaces; you’re restoring a stable, healthy structure for everyone who lives there, and that shared goal keeps the work focused.
Clean and Sanitize to Prevent Mold
After the structure is dry, clean all affected surfaces to remove residues that can support mold growth. You’ll use detergent and clean water first, then apply an EPA-registered sanitizer that’s rated for the material you’re treating.
Work methodically from the top down so contaminated particles don’t re-settle on finished areas. Keep surfaces visibly wet for the full contact time on the product label, because short dwell times reduce effectiveness.
Change cloths, mop heads, and rinse water often to avoid spreading contamination. Wear gloves, eye protection, and a respirator if dust or spores may be present.
Once you’re done, verify that surfaces feel clean, smell neutral, and stay dry. That disciplined routine helps your home recover safely and gives your household a healthier reset.
Check for Hidden Structural Damage
Now that visible surfaces are clean and dry, you should inspect for hidden structural damage before any rebuilding starts.
Check subfloors, wall cavities, ceiling joints, and framing for swelling, softening, cracks, or separation. Use a moisture meter to confirm that lumber and drywall are within acceptable limits, and probe suspicious areas with a screwdriver or awl.
Look for rusted fasteners, sagging headers, warped studs, and delaminated sheathing, since these often signal deeper compromise. If you find a musty odor, staining, or persistent dampness, trace the source and verify it’s gone.
Document every finding with photos and notes so you and your restoration team stay aligned. Careful inspection helps you protect your home, your investment, and the people who depend on it.
Repair and Rebuild Damaged Areas
Once you’ve confirmed the hidden structure is sound and fully dry, you can start repairing and rebuilding the damaged areas.
Remove any remaining damaged drywall, insulation, baseboards, trim, and flooring so you’re working from a clean, stable substrate.
Replace materials in the correct order: insulation first, then wallboard, then trim, then finish surfaces.
Match the original thickness and type of each component to preserve alignment and load transfer.
Tape, mud, sand, and prime seams before applying paint or other finishes.
Reinstall cabinets, doors, and fixtures only after surfaces are level and cured.
Keep fasteners, adhesives, and finish materials compatible with the substrate.
Work methodically, check measurements twice, and verify every repair before moving on.
That’s how your space comes back cohesive, safe, and ready to belong to you.
Know When to Hire a Flood Restoration Company
When should you bring in a flood restoration company? You should call one when water has soaked drywall, insulation, subflooring, or electrical systems, because hidden moisture can spread fast.
If you notice musty odors, warped materials, or contaminated water, you’re facing risks that basic cleanup can’t control. A certified team brings the tools and standards to extract water, dry structures, sanitize surfaces, and verify safe conditions, so you’re not handling it alone.
- Standing water remains after initial cleanup
- Mold appears within 24 to 48 hours
- Sewage, storm runoff, or chemicals entered
You’ll also benefit when damage affects multiple rooms or structural framing.
Hiring experts helps your household stay protected, connected, and confident while the restoration process moves forward methodically.
Frequently Asked Questions
How Long Does Flood Insurance Usually Take to Pay Claims?
You’ll usually see flood insurance claims paid within 30 to 90 days after you file, but delays happen if you’re missing documents, need inspections, or disputes arise over coverage and damage.
What Items Are Often Excluded From Flood Insurance Coverage?
You’ll often find basements’ contents, currency, precious papers, outdoor landscaping, and temporary structures excluded. You’re usually responsible for loss of mold, mildew, and preventable seepage, so review your policy’s exclusions and endorsements carefully.
Can I Stay in My Home During Minor Flood Cleanup?
Yes, you can stay if water’s a shallow puddle and you’ve cut power, ventilated rooms, and sanitized surfaces. Like sailors mending a dock, you’ll monitor moisture, wear protection, and leave if odors, mold, or structural damage appear.
How Do I Document Flood Losses for Insurance?
You’ll document flood losses by photographing every damaged item, listing descriptions, purchase dates, and estimated values, saving receipts, and recording model numbers. Then you’ll note cleanup dates, keep samples, and submit everything promptly to your insurer.
What Permits Are Needed for Major Flood Repairs?
You’ll usually need building, electrical, plumbing, and mechanical permits for major flood repairs; floodplain or zoning approvals may also apply. You should contact your local building department first, then document requirements before starting work.
Recap
You can reduce flood losses fastest when you act in the right order: check safety, stop the water, extract it, remove wet materials, dry the space, sanitize surfaces, and inspect hidden damage. Remember that 1 inch of floodwater can cause up to $25,000 in damage, so every minute matters. If you spot structural issues, call a flood restoration company right away. You’ll protect your building, limit mold growth, and restore safe conditions sooner.